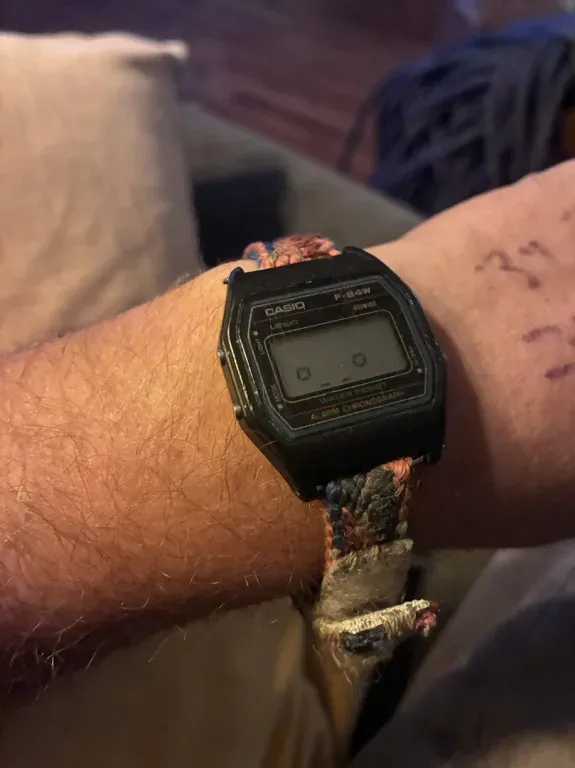
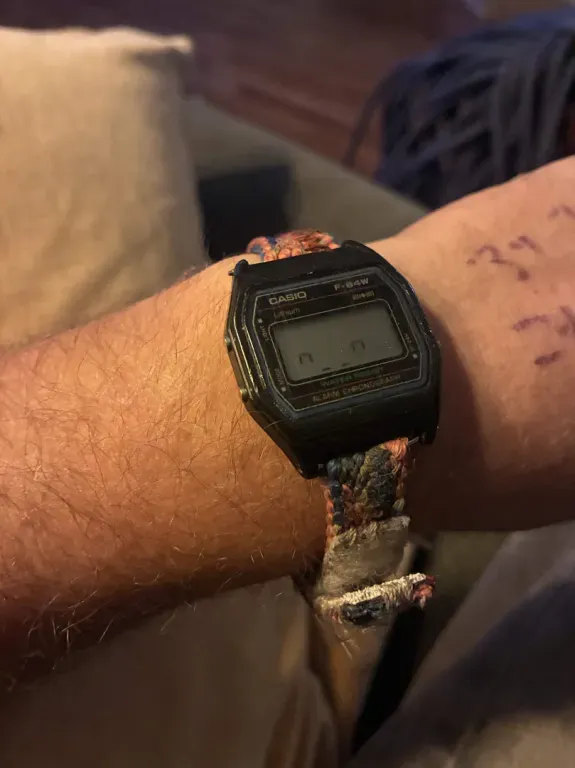
awesome custom casio.
custom embedded arm cortex-m0+ watch!
hey!!!
i learned that you can throw your own custom cpu into any old* casio watch and then flash it with custom c code. totally awesome.
the brain is a microchip sam l22ar with arm cortex-m0+, 256kb flash, 32kb ram, with a built in segment lcd driver and rtc
and then you can compile your silly little custom c code with arm-none-eabi-gcc + make and get a simple uf2 file.
here are the steps you can follow once you buy your things too!
-
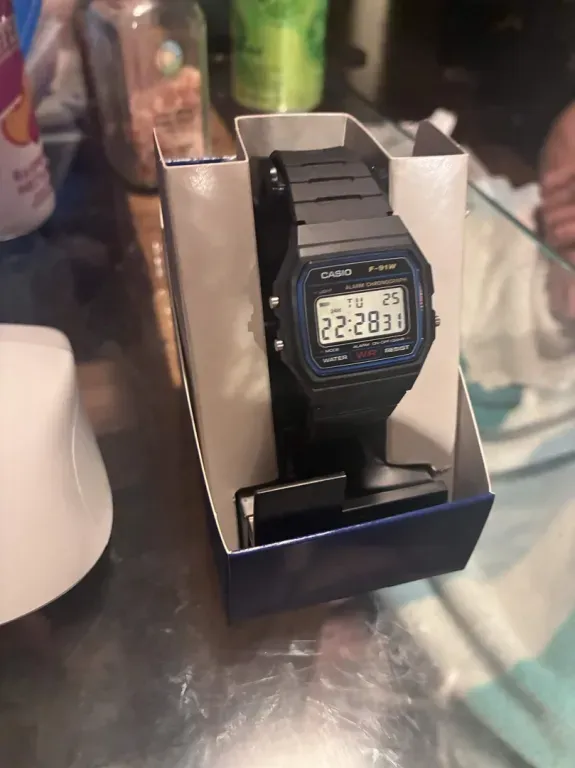
you are going to start by removing the packaging. probably
-
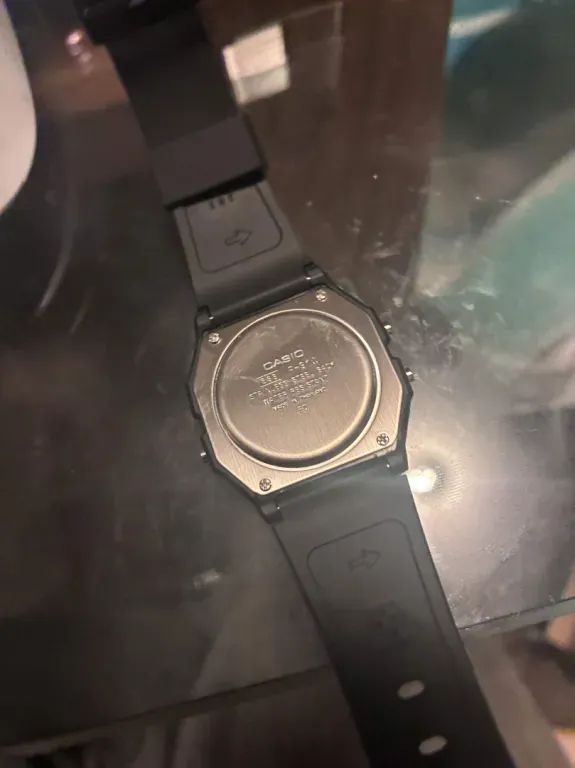
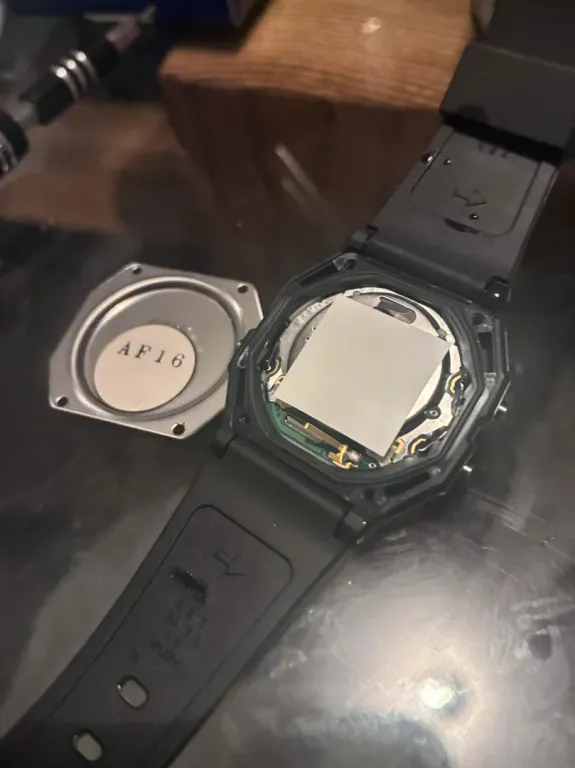
flip her around and take out the 4 corner screws. do not lose them or drop them on the floor and spend 20 minutes looking for it.
-
also dont flip this plate around but you can also just look at the words and have them be oriented correctly if you mess it up.
-
take off this rubber gasket and don't forget its orientation. if you need help maybe use a plastic pick or toothpick to pick it off
-
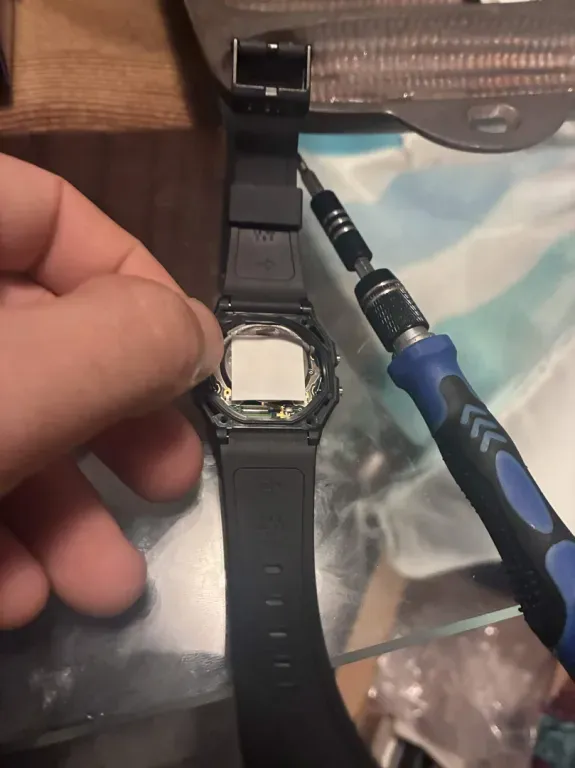
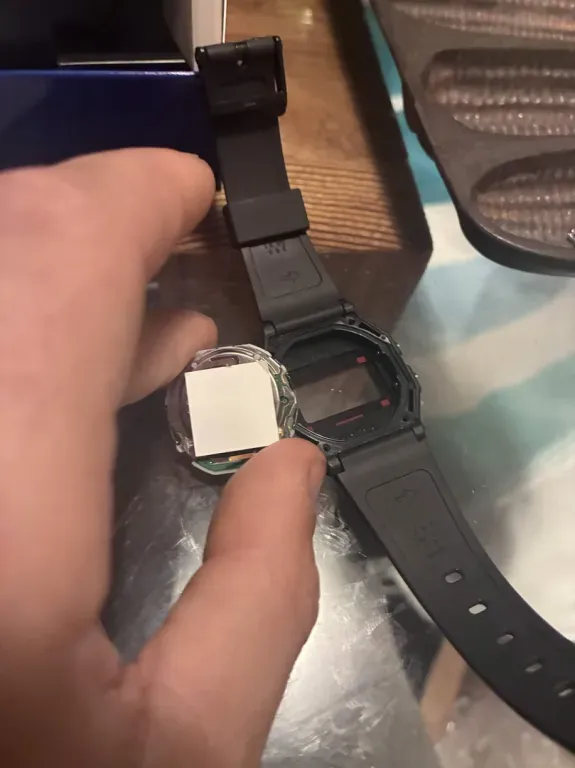
then you can pop the computer thingy out
-
now you undo these 4 little metal clips thingies. be careful not to bend them out too much
I recommend using a little mini flat screwdriver or ur plastic pick thing again
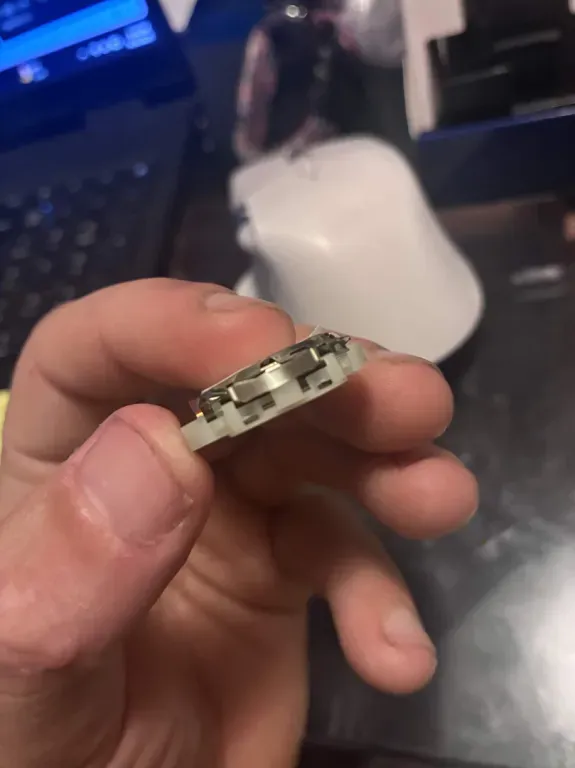
it'll look like this
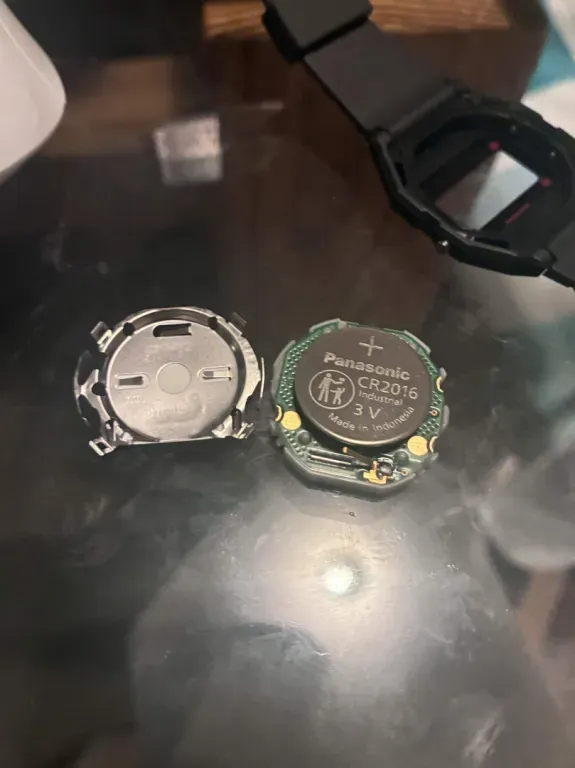
-
lightly pull off the battery
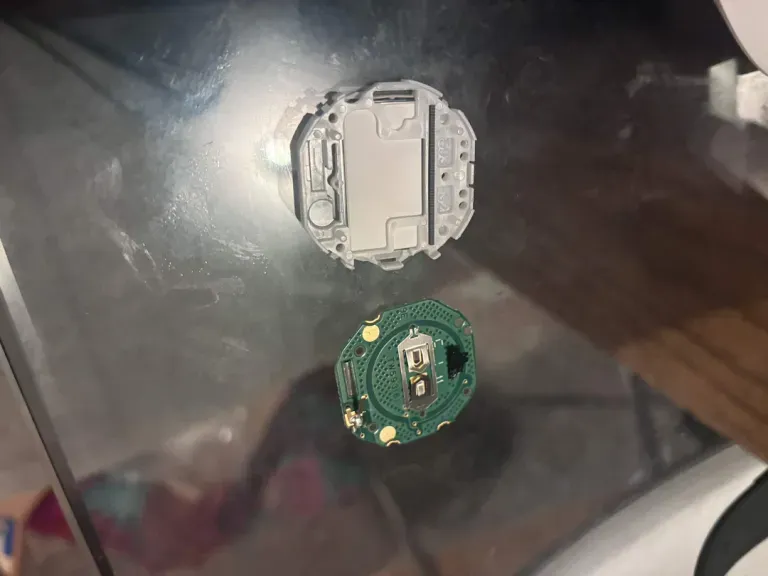
-
and now its time to replace the screen with the new one if you're doing that
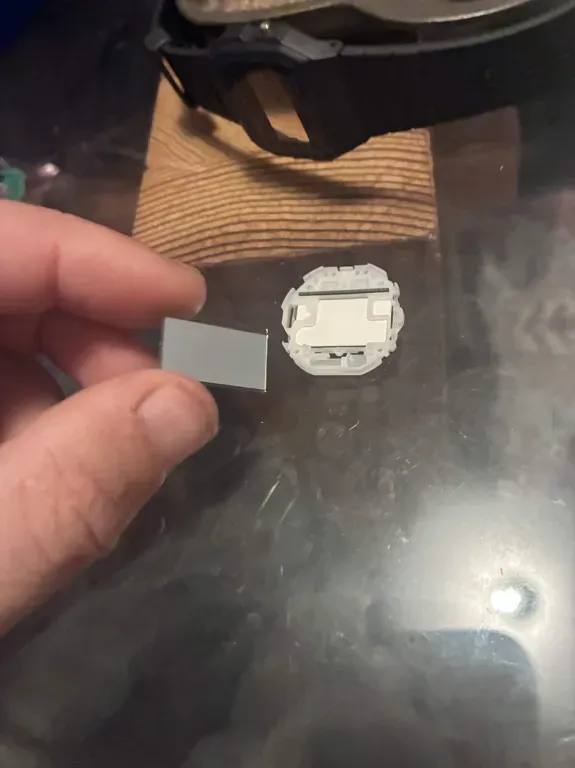
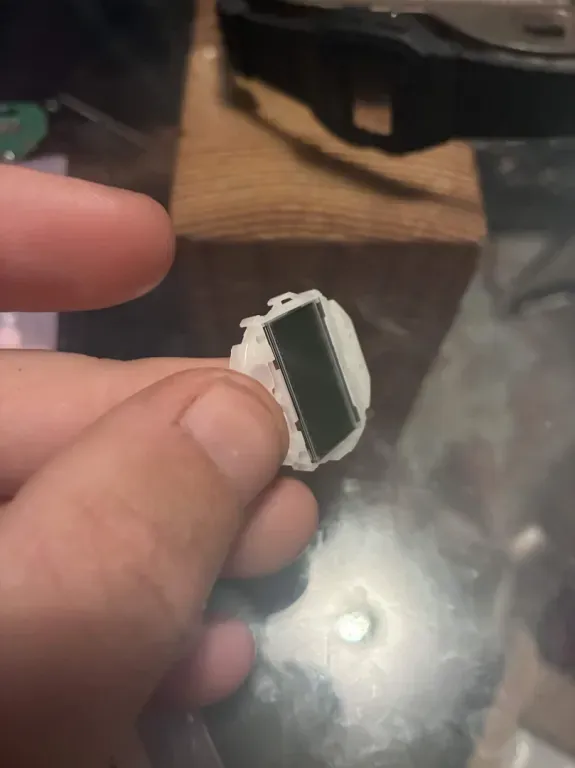
flip the screen around and lightly push the little tab at the bottom of the screen
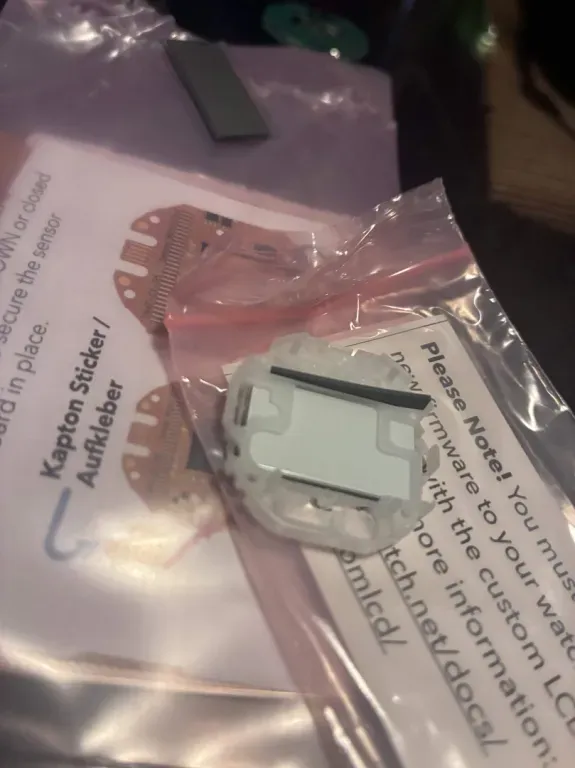
pop in the new one oh and pull off the little plastic cover on it. you might not notice its there but it is
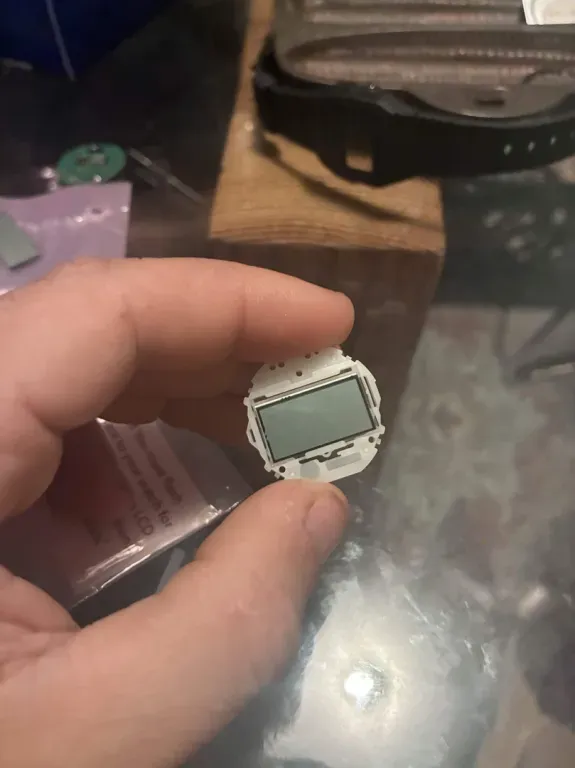
oh also this might fall out so try to avoid that and just put it back in if it falls out. and keep it clean
-
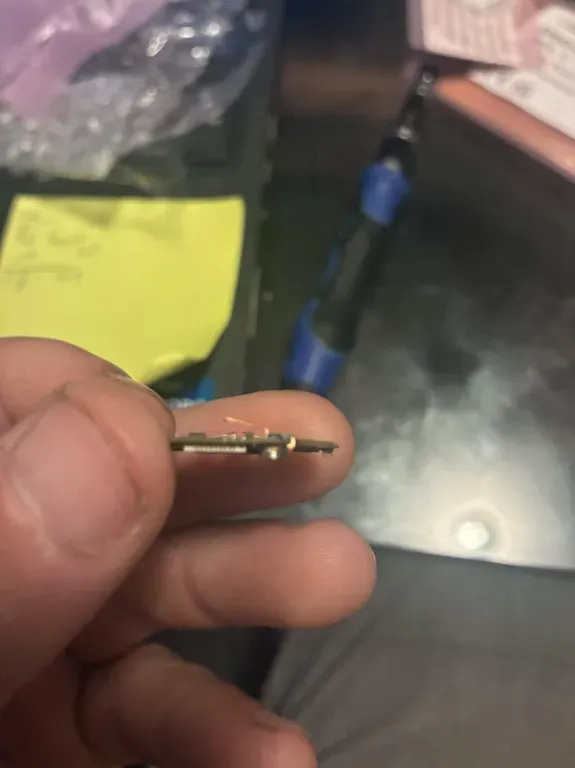
buzzer fix
maybe not for you... but for me i wasn't getting any buzzing so i had to bend up this little tab. you can compare it to the previous board to get the same angle. do it carefully and with non conductive thingies.
-
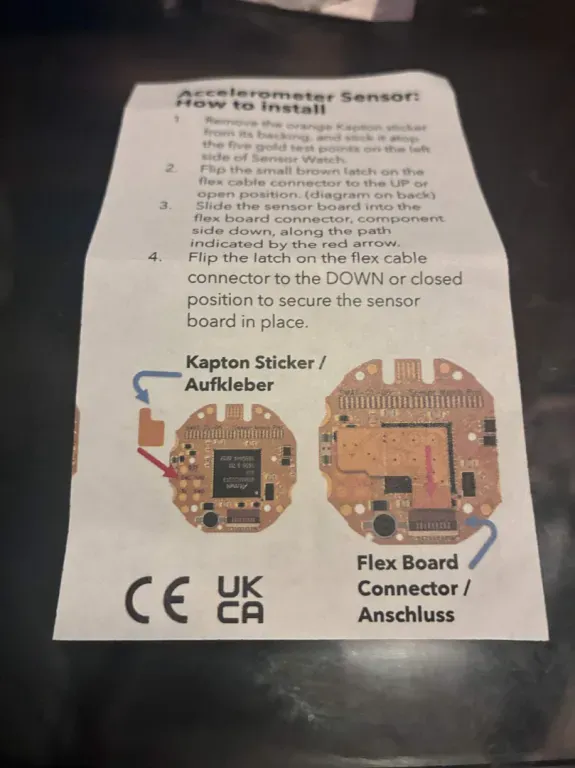
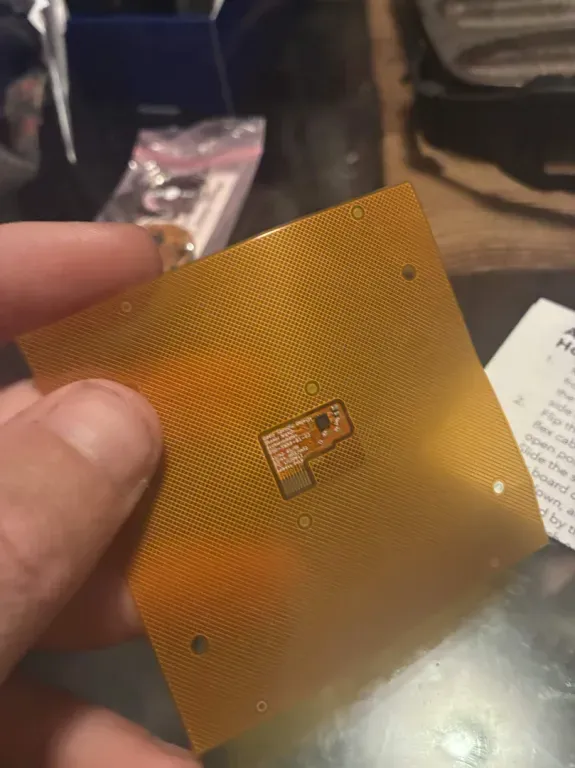
now its time to put on the accelerometer if youre doing that:
-
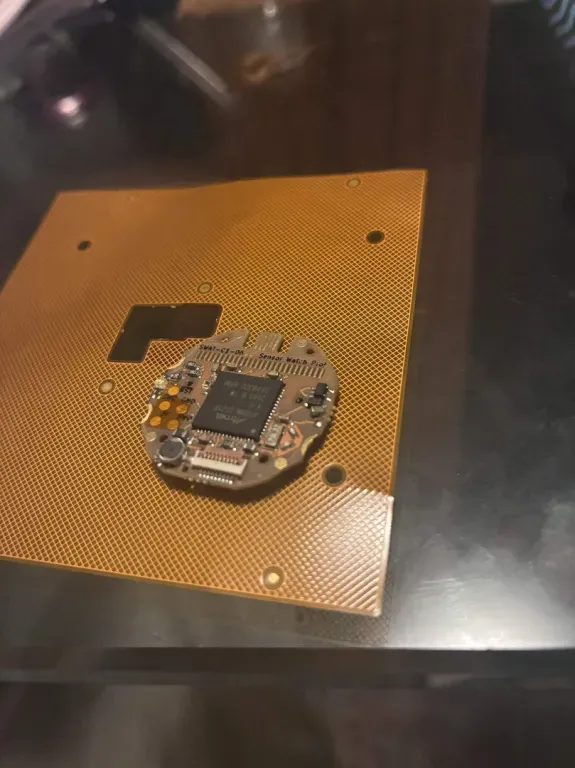
see the image. add the little sticker thingy on the correct dots. oh and also stick in the accelerometer by flipping up the tab sliding it in and slapping it down
-
time to get your flashed image
youre going to get your flashed image by cloning the repos you want, writing the code you want, picking your faces etc, and then compiling it!
end result is a
build/firmware.uf2okay once you have that youre ready to flash!!!
-
okay now you should flash it!!
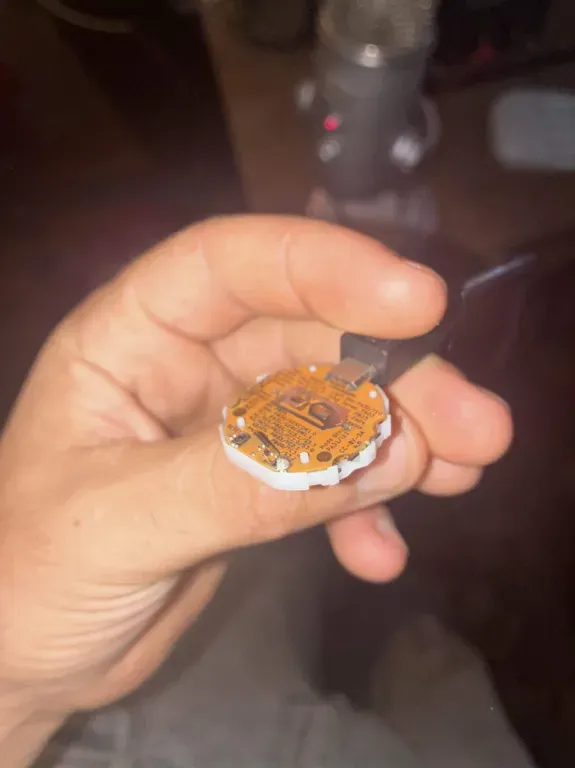
oh also thats what the accelerometer looks like in place
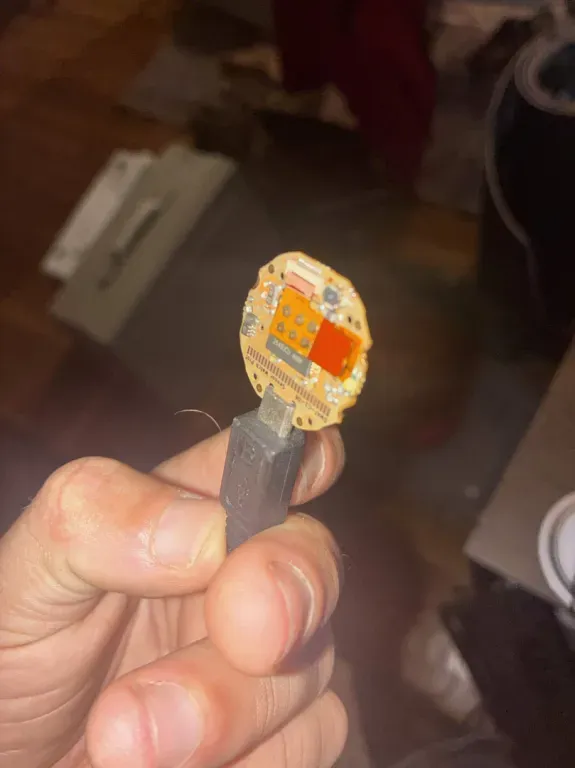
plug it in!!! but heres the issue i had. the reset button (clicking it 2 times) did not work for me.
so instead i plugged into my linux machine via usb and used this command:
sudo picocom -b 115200 /dev/ttyACM0this will put you into the serial debug terminal. type help or whatever
now type
flashthis will put the unit in flashing mode.
-
time to put it all back together. put on the battery
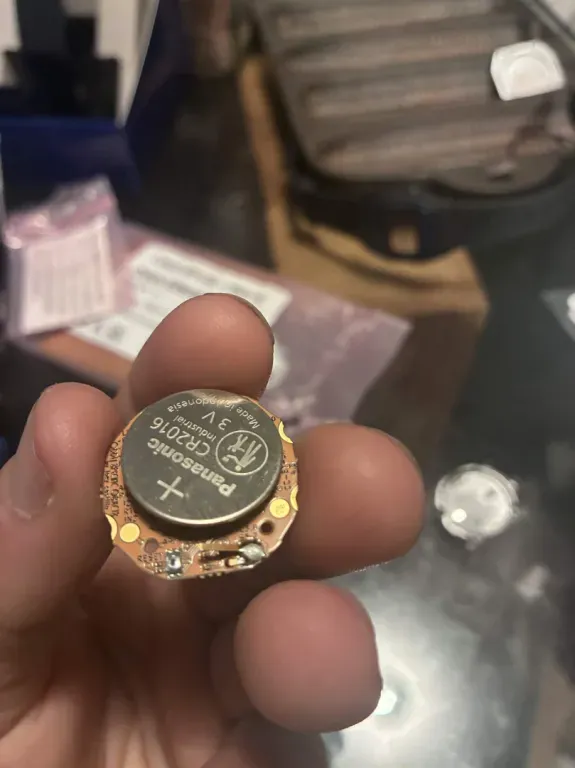
and then put back into clippy case thing
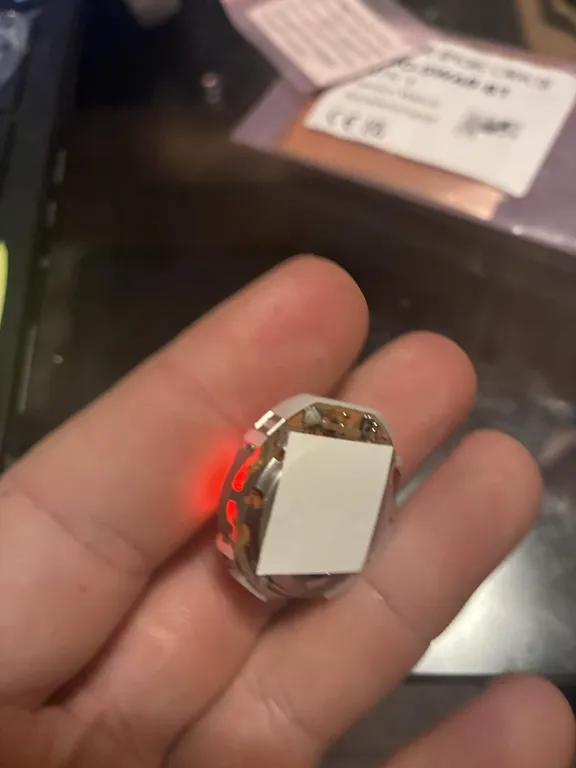
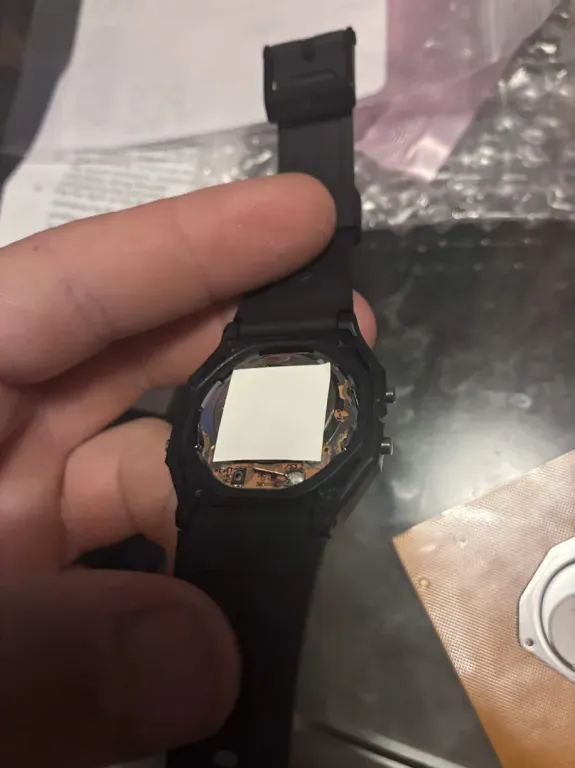
and then put back into shell. FIRST MAKE SURE buttons are pushed all the way out!!
-
Done!!!